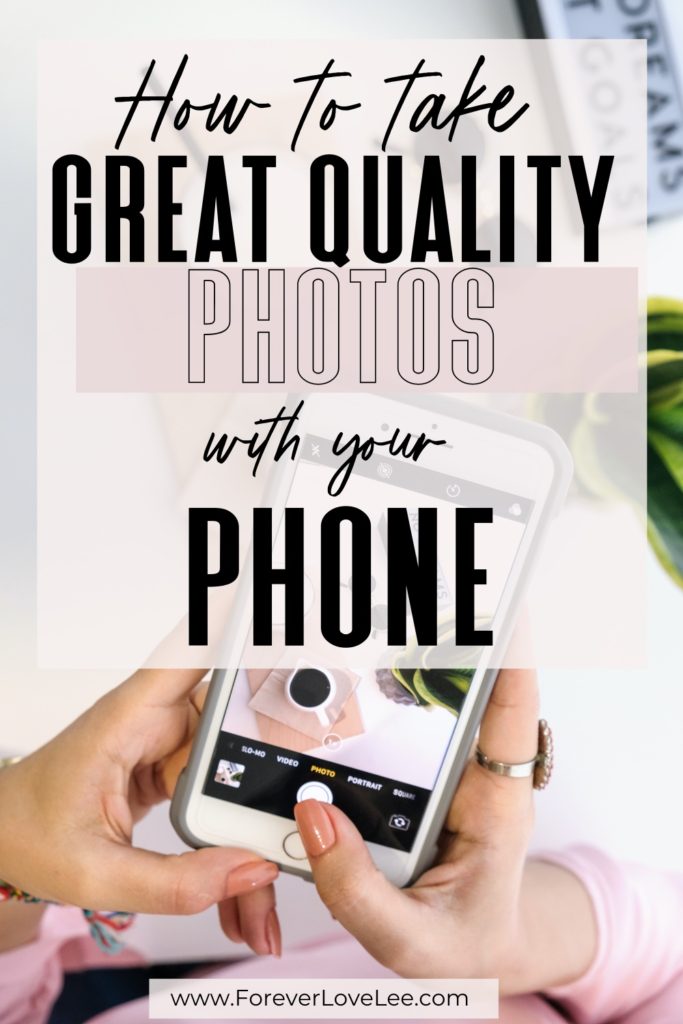
If you’re a blogger, content creator, social media influencer, or somewhere along those lines, then your best camera is the one you always have with you! Your iPhone!!! I will give you 6 secrets to capturing Instagram worthy photos with your phone.
It’s a HASSLE and pricey to always having to hire a photographer.
I mostly use my iPhone 11 (I don’t have the Plus) and it’s SO FREAKING EASY to take photos with that. I edit them on my phone, share to my blog, Instagram, and Facebook MUCH sooner from my phone. If I had to upload photos to my laptop, edit them, and airdrop them to my phone it would take too long.
So let’s dive right in! I’m sharing my top 6 secret tips for getting great phone photos with your iPhone!
#1 LIGHTING IS EVERYTHING!
If you are inside, open up your curtains to let as much natural light come in.
If you are outside have the sunshine behind your subject at 45 degrees.
When you are outside while it’s cloudy you are pretty safe as far as lighting goes. You can avoid shadows by having your subject rotate until they don’t have under-eye shadows.
#2 DON’T BACKLIGHT INSIDE
When you are inside and want to take a photo/selfie, have your subject facing the window straight on or at an angle. If you have wrinkles you’re self conscious about, take photos facing the window straight-on.
#3 CLEAN YOUR PHONE LENS
Have you ever taken a photo and noticed that it was blurry or hazy? Perhaps it looked like you were taking a photo under water? That is a result of your camera lens being dirty. Also, in humid climates your lens can fog up when you go outside or come in from outside.
You don’t have to do anything fancy to clean it. I just wipe it on my shirt and call it good.
#4 EDIT YOUR PHOTOS IN THE LIGHTROOM MOBILE APP!
I have tried many different apps to edit my photos (Facetune, VSCO, and more). However, Adobe Lightroom Mobile is my absolute favorite. I can edit my photos with the same settings by creating my own preset. The best part is the EFFICIENCY! It takes about 30 seconds to import, edit, and export a photo. I’ve been using my own collection of mobile presets for MONTHS, and I love how my photos look.
#5 EDIT YOUR ORIGINAL PHONE PHOTOS
Edit the photos on your phone using Adobe Lightroom. Make an album on your phone and save your photos to that album. DON’T SCREENSHOT THEM! When you take screenshots of photos you lose image quality. You can access your photo albums when you are importing images in the Lightroom mobile app.
#6 USE PORTRAIT MODE
Above the camera mode, you have a “portrait mode” which can be amazing. I love taking portrait mode photographs because it creates a shallower depth of field. Keep in mind, that this is a “boosted aperture mode” where you can control the aperture and have it as wide as f/1.4. Considering the cameras on the iPhone 11 Pro, none of them has the f/1.4 aperture.
Hope these tips help you take great photos with your phone!