Disclosure: This page contains affiliate links.
Hey lovelies!!! One question I get asked a lot is how can I start my own blog or website. I want to help as many people I possibly can. So in this post I will be showing you how to Successfully Start a Blog (that makes money) on a budget without any experience. (Including a FREE domain)

Today, I’m going to talk about:
- What you will need to start a blog.
- How to Start a Blog Step-by-Step.
- What to do after you start your blog.
When I started my blog in 2020, I honestly had no idea what I was doing. It was so much information to digest and I was totally confused. I knew you could make money blogging but I didn’t know how to make it happen. After tons of research and trial and error, my blog is now properly set up and making money. Now I want to share the tools on how to successfully start a blog. Once I learned how to monetize my blog I made a promise to show others how they could successfully start a blog. I’m going to save you the time and share steps on how to create a blog today.
What do you need to start a blog?
Starting a blog is not as scary as it may seem. You don’t need any fancy degrees, skills or a lot of money to start a blog.
To Start a Blog you are going to need:
- An internet connection.
- An email address.
- A computer.
If you’re reading this I’m sure you already have an internet connection and who on this planet doesn’t have an email address. However, the reason why I say you need a computer is because following the steps in the post and setting up your blog may be difficult to do at the same time on your phone. Email this link to yourself if you need to come back.

How do you start a blog?
I honestly think you can make money blogging about anything if you are determined to do so, so if you want to talk about fashion, fitness or wellness you can do that! I started out talking about everything then I was able to find my target audience and niche down.
So the way I am going to walk you through blogging doesn’t have you start by picking a topic, instead, I am going to start by talking about choosing a name, then I will walk you through starting your blog.
Let’s get your blog up and running!
1. Decide on Blog Name
It’s time to decide what you want your blog to be called so you can pick out your .com! What should you call your blog? This took me FOREVER to figure out but honestly don’t make it too deep.
PLEASE NOTE: I highly recommend getting a .com not a .net or a .co because a it’s easier to remember and it looks more professional.
2. Pick a Hosting Platform
I initially started my blog on another hosting platform (Please don’t make the same mistake) and the customer service sucked. So from here on out I’ll be telling you how to start your site on BlueHost. Bluehost is great and I would not recommend it If I did not love it so far. Below is my affiliate link and you can get 56% off your blog when you sign up. That being said their customer service is great and I have not had a single issue with my hosting ever since I signed up.
Bluehost:
What you get: 1 free domain, hosting, free WordPress.org installation.
- The annual cost for 1 year: $71.40
- 2 years: $59.40
- 3 years: $47.40
Get Bluehost by clicking here.
Now lets create a blog in just 7 easy steps. This will take around 15 minutes if you know what you want your name to be.
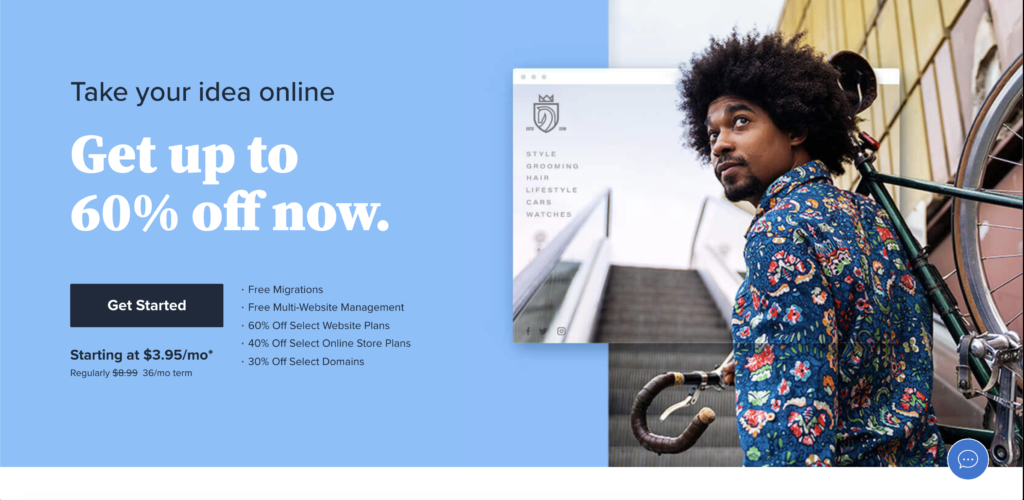
Step 1: You are going to go here to bluehost.com. You will come to the Bluehost home screen you are going to click “get started now” on the banner. This will take you to a landing page where you will select the type of plan you want.
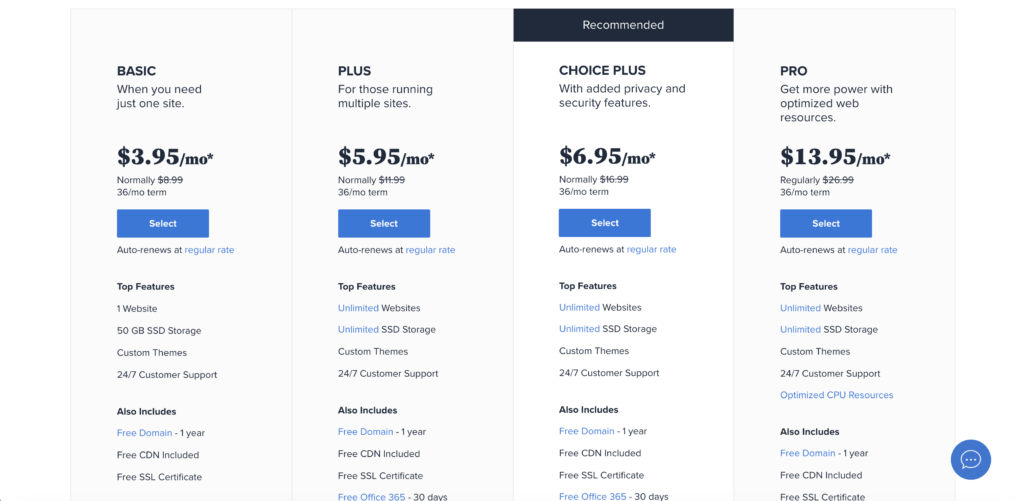
Step 2: I highly recommend just starting out with the basic plan because you can always upgrade and you do not now know what your future needs will be. Once you know what plan you want click “select” to move on to the signup screen.
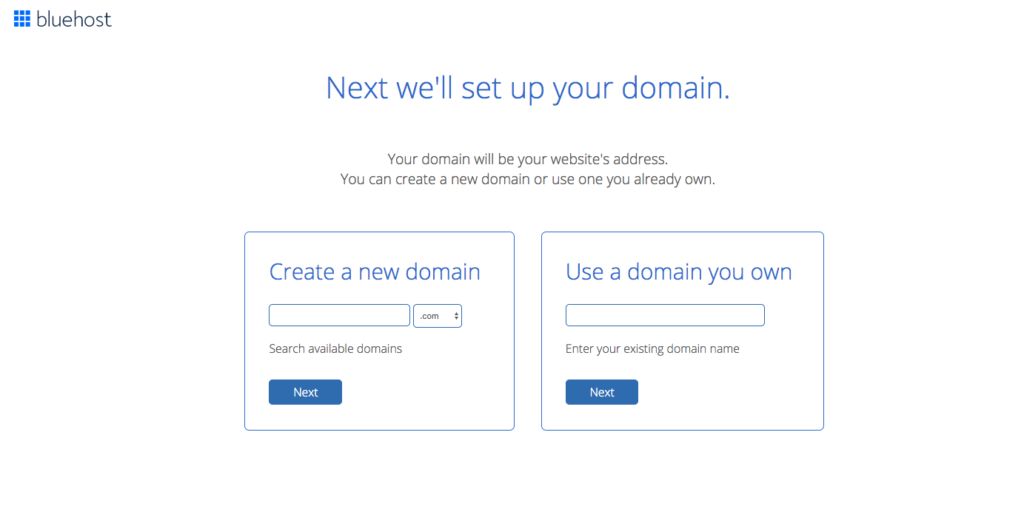
Step 3: Now enter the name you want in the “new domain” box. If you already bought a domain from a place like GoDaddy then enter that in the “I have a domain name” box. Then click the “next” button.
Step 4: In step 4 you are going to create your account. You will type in your information like email and name. This account is where you will sign in to manage all your blog settings such as email, and advertising. So choose an email you use and plan to use when you first start your blog. Then scroll down and move on to step 5.

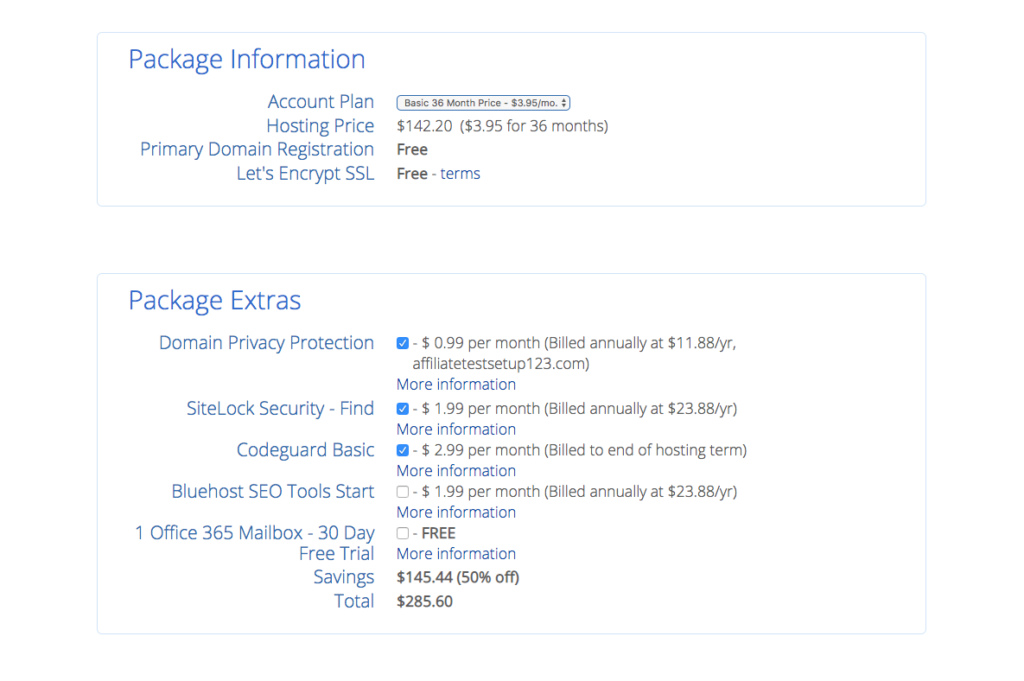
Step 5: After you have finished creating your account scroll down and select your package information. I recommend getting the 3 years or 36 months because you are saving the most money and if you plan to blog for profit you are going to be blogging for a while right? If you cannot afford 3 years right now I recommend just getting the 12 months and upgrading within the year to save money. I recommend not getting the add ons because I have found that WordPress.org has free plugins that do the same thing for you free of charge!
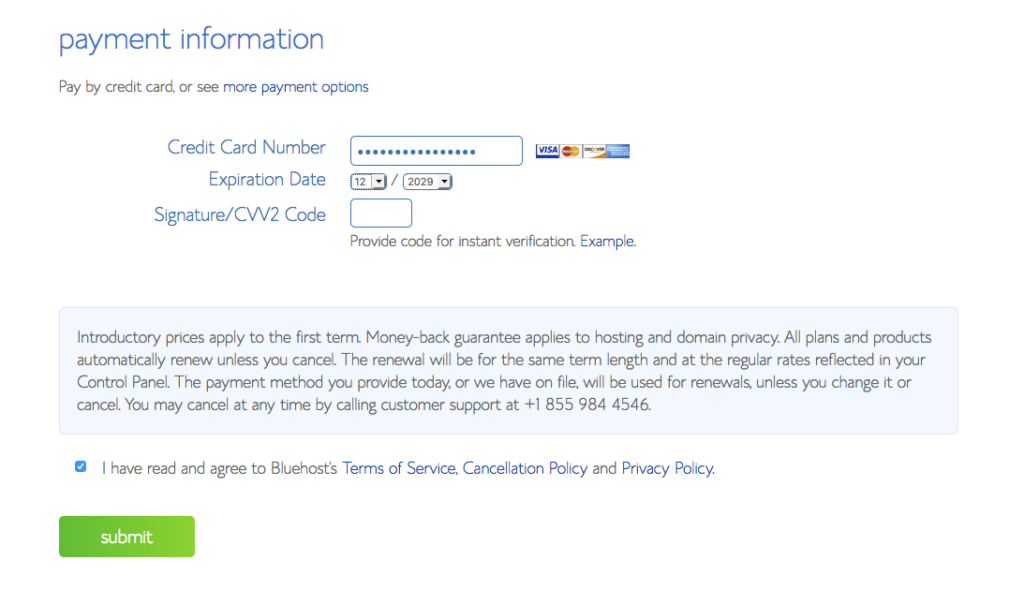
Step 6: Select your payment. Then you are on your way! It will take a few minutes for Bluehost to set up your website (around 10) when they are finish setting up your website you will receive an email and be all ready and set to go install WordPress.org!
Yessssss! You almost have a blog. Exciting right? Super exciting!
Installing WordPress.Org
Step 7: Find and install the WordPress.org app into your website. Now that you have a website we are going to need WordPress.org in order to turn it into a blog. To start this you have to log in to your new Bluehost account.
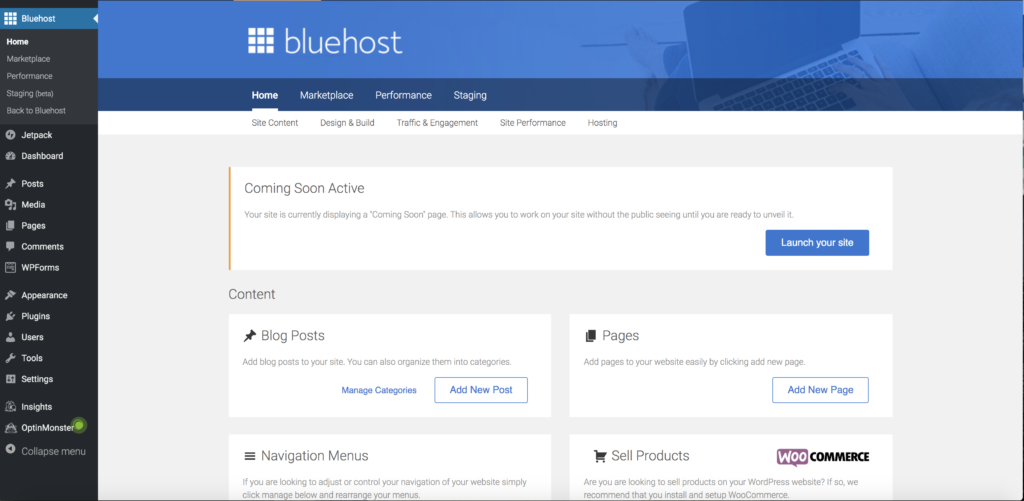
Once you find the “website” box click the “Install WordPress” icon. Which will bring you to the installation page:
- Once you are there click “Install”
- Then click “Check Domain”
- After that click “Install Now”
Then you will be on your way to blogging! All for the cost of just hosting!

What to do after you start your blog?
Now you have successfully started a blog, It’s time for you to install a theme, start writing blog posts, and start sharing those posts on social media! One day I’ll talk about those things but hopefully this was enough to help you get started!